
SUMMARY
This post explains how custom prototyping works within precision manufacturing, why prototyping is a critical step before full production, and what businesses in the UAE should expect when working with a manufacturer on a prototype project. It covers the typical prototyping workflow, common pitfalls, and how to move from prototype to production efficiently.
What Prototyping Actually Solves
Before any part goes into full production, it typically exists first as a prototype, a single, physical version of the design created to test fit, function, and manufacturability before committing to a larger production run. Skipping this step is one of the most common and costly mistakes in product development: a design that looks correct on screen can reveal real-world problems the moment it’s physically machined and tested.
For businesses across the UAE developing new equipment, replacement components, or custom industrial parts, prototyping isn’t a delay in the process; it’s what prevents far more expensive mistakes once a full production batch is underway.
What a Prototype Reveals That a CAD File Can’t
A digital design file can look perfect and still fail in physical form for reasons that only become apparent once a part exists:
- Fit and assembly issues — a part may need to integrate with existing equipment, and tolerances that look fine on screen sometimes don’t align correctly in physical assembly
- Material behavior under real conditions — how a material handles stress, heat, or wear often differs from theoretical specifications
- Manufacturing feasibility — certain designs that are easy to draw digitally are difficult or impossible to machine efficiently, requiring design adjustments
- Functional performance — moving parts, load-bearing components, and connection points need to be physically tested under real or simulated conditions to confirm they perform as intended
The Typical Prototyping Workflow
- Design review. Before machining begins, an experienced manufacturer reviews the CAD design, flagging features that may be difficult to produce accurately or cost-effectively.
- Material selection. The right material is chosen based on the part’s intended function, whether that’s corrosion resistance, strength, weight, or temperature tolerance.
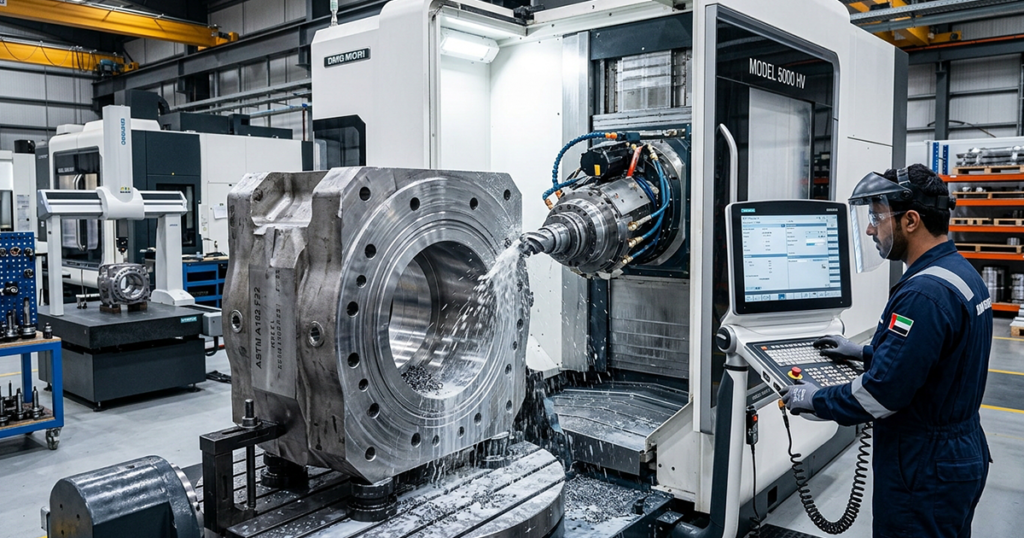
- Initial machining. A single prototype unit is produced by CNC machining or other appropriate processes, in accordance with the reviewed design specifications.
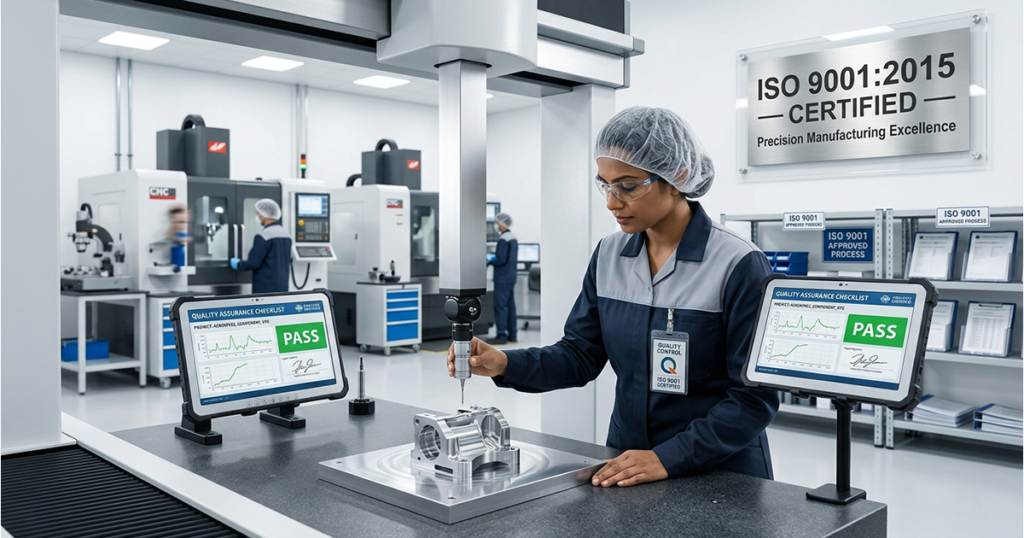
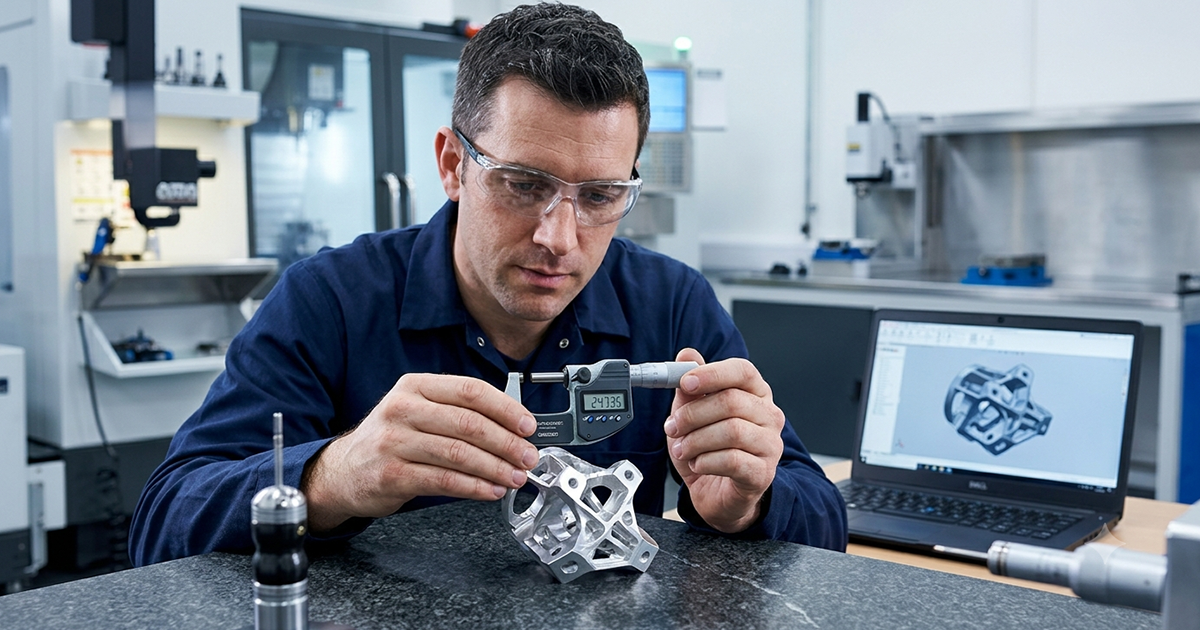
- Testing and inspection. The prototype is measured against design tolerances and, where applicable, tested under conditions that simulate its intended use.
- Feedback and iteration. Based on testing results, design adjustments are made, and in some cases, a second prototype round follows before the design is finalized for production.
- Transition to production. Once a prototype is validated, the same manufacturing process can typically scale into a full production run with confidence that the design will perform as expected.
Common Pitfalls in the Prototyping Process
Treating the first prototype as final. Many projects benefit from at least one round of revision based on real-world testing. Building this expectation into project timelines avoids unnecessary pressure to get everything perfect on the first attempt.
Underestimating material testing. A material that performs well in standard conditions may behave differently under the specific stress, temperature, or chemical exposure relevant to an industrial application. Testing under realistic conditions matters more than theoretical material specifications alone.
Skipping design-for-manufacturability review. A design that’s difficult to machine efficiently can significantly increase prototype costs and timelines. An experienced manufacturing partner identifies these issues before machining begins, not after.
When to Move From Prototype to Full Production
A prototype is generally ready to scale into production once it has:
- Passed dimensional inspection against the original design specifications
- Successfully completed any required functional or stress testing
- Confirmed successful fit and assembly with any connecting components or systems
- Received final sign-off from the engineering or product team responsible for the project
Moving to production before these checkpoints are met risks discovering costly problems across an entire batch rather than a single unit.
Frequently Asked Questions
How long does the prototyping process typically take?
Timelines vary based on part complexity, but a single prototype can often be produced within one to two weeks, with additional time needed if design revisions and a second prototype round are required.
Is prototyping necessary for simple parts?
Even relatively simple parts can benefit from a prototype stage, particularly when fit with existing equipment or specific material performance needs to be confirmed before committing to a production run.
Can the same manufacturer handle both prototyping and full production?
Yes, working with a single manufacturer across both stages is generally more efficient, as the prototyping process informs production planning and avoids the need to re-explain specifications to a different supplier.
What information does a manufacturer need to start a prototype?
At a minimum, a CAD design file and intended material specifications are needed. Additional context about the part’s intended use, operating environment, and any critical tolerances helps the manufacturer flag potential issues earlier in the process.
Prototyping exists to catch problems while they’re still inexpensive to fix, and for any custom part destined for demanding industrial use, that single step often determines whether full production runs smoothly or expensively off course.